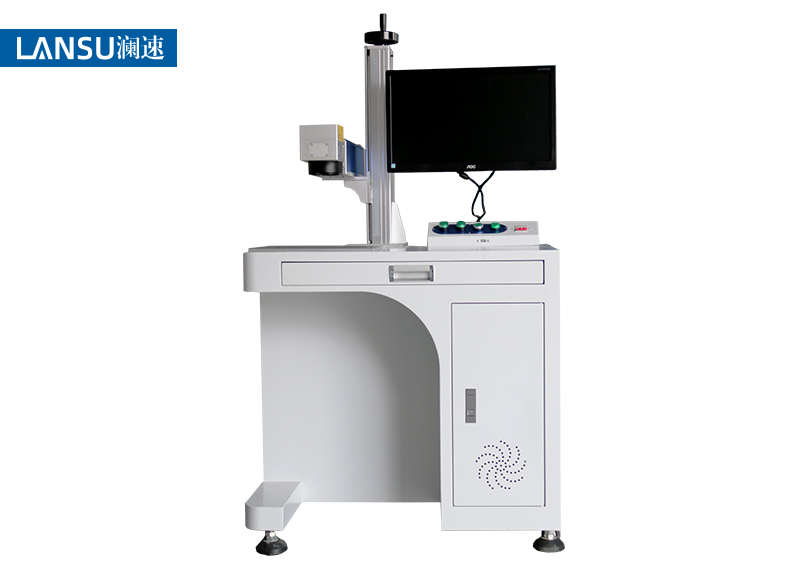
- Fiber laser marking >
- 20W fiber laser marking machine
- 30W Fiber Laser marking machine
- 50W Fiber Laser marking machine
- Ultraviolet laser marking >
- 3W UV Laser Marking machine
- 5W UV Laser Marking machine
- 10W UV Laser Marking machine

Laser marking machines are widely used in various industries. They can be used to mark logos, parameters, two-dimensional codes, serial numbers, patterns, texts and other information on metal and most non-metallic materials. Marking portrait pictures on specific materials, such as metal tags, wooden photo frames, etc. Here are some steps for laser engraving pictures that are more common in the laser equipment industry:
1.Import the photos to be marked into the laser marking machine software first
2. The DPI value of the fixed laser marking machine, that is, the pixel point. Generally speaking, the higher the value set inside, the better the printing effect will be, and the relative time will be slow. Commonly set value is around 300-600, of course It is also possible to set higher, here you can adjust the relevant parameters.

3. Then we need to set the relevant photo parameters. In most cases, we need to set the inversion and dot mode for the photo (there is also a case where the inversion is not selected. Normally, it is necessary to set the inversion). After setting, enter Expand, check the bright processing, contrast adjustment is to control the ideal effect of laser marking machine photos, white area is not marking, black area is marking.
4. Let's look at the scanning mode. Some laser marking machine manufacturers usually use the dot mode setting of 0.5. Bidirectional scanning is generally not recommended. It is too slow to scan left and right, and it is not necessary to adjust the point power. The speed on the right is set to about 2000 and the power is about 40 (the power is determined by the material of the product here. Setting 40 power is a reference. If the mobile phone is used to take a photo, the power can be set higher). The frequency is about 30. The frequency setting is a problem. The larger the frequency, The denser the dots coming out of the laser marking machine. Every photo needs to be adjusted for contrast.